There are many, many different ways to grow kalo. This is a subject that can be extensive as you want it, but we’ll discuss some basics here.
Overview of how to plant kalo:
Loʻi and Māla Growing Styles
When most people think of taro growing somewhere, they think of the extensive loʻi kalo of Hanalei or Waipiʻo. But you can also grow kalo dryland style, in a normal garden.
Loʻi is the wetland way of farming kalo. Fields are flooded via extensive ʻauwai, or irrigation channels, that divert water from a stream, through the loʻi, and return it back to the stream.
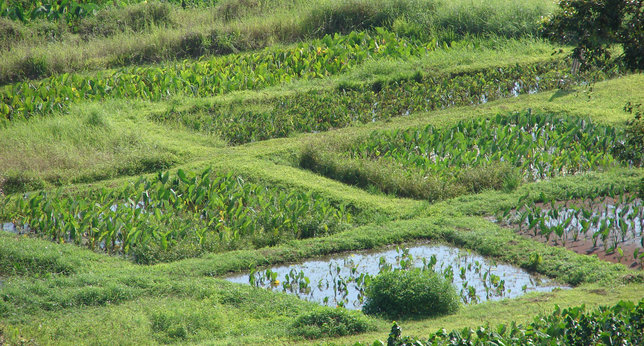
The corm is submerged for the majority of the growing process. Because of these extreme conditions, only certain varieties thrive in wetland cultivation.
Māla style kalo is grown straight in the ground. This is a more practical way of growing taro for the majority of people since it doesn’t require access to a running stream.
Kalo grown māla style usually takes longer to mature than kalo grown loʻi style. The resulting corms might be smaller as well. This is why most commercial taro farmers use flooded loʻi in specific locations to grow their crops.
The Kalo Life Cycle
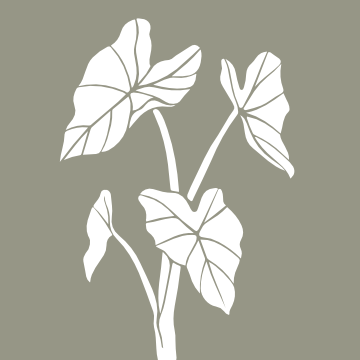
When a kalo plant is harvested, the stalk is replanted to grow again. You cut off all but a thin slice of the corm and all but a few leaf stalks, called hā. This cut-down section of the plant is called a huli.
[huli picture]The huli is planted at the bottom of a hole. Kalo grows upwards, towards the sun. If you plant the huli in a shallow hole, it won’t grow very far before being exposed and stopping.
As leaves emerge and then die again, their base becomes part of the new corm, building upwards from the bottom of the huli.
As the huli sprouts, it sends up new leaves and the growth is very obvious. Each new leaf gets bigger and bigger for five or six months. Then, the kalo begins putting its energy into the corm and the leaves begin to emerge smaller and die back. During this stage, the corm is growing, even if the plant looks like it’s dying back. At the end of anywhere from nine to 13 months, the leaves will be significantly smaller than their peak and the corm will be peeking out of the ground – ready to harvest.
After digging up the kalo, you cut another huli out of the old plant and start the process again. In a way, we’re all still growing the same single kalo plant that came from Hāloa.
Varieties
There are many varieties of Kalo. Each has different characteristics and usages.
CTAHR lists 84 varieties in their database, though there are certainly more in small family production or lost to time. There is some info about each taro cultivar linked from that page.
Kupuna Kalo also provides information on many, if not all of these same varieties with nicer photos and a more modern web experience.
One of the most extensive documentations on the subject of growing taro is CTAHR’s Taro: Mauka to Makai. It’s very bland and confusing to navigate when looking for something specific. It also misses some of the more practical cultural know-how that you would hope to find. But makes up for all this will brute-force, college-level information. If you want to know a modern, business man’s way to grow kalo by the numbers, this is a fantastic resource.